


Remember to wear all appropriate safety equipment. Take care and get assistance when moving the safe as it may be heavy. These fixing specifications are valid for Northern Ireland and Great Britain. Check local requirements before fitting your safe as specifications can change.
Tools and Fixings.
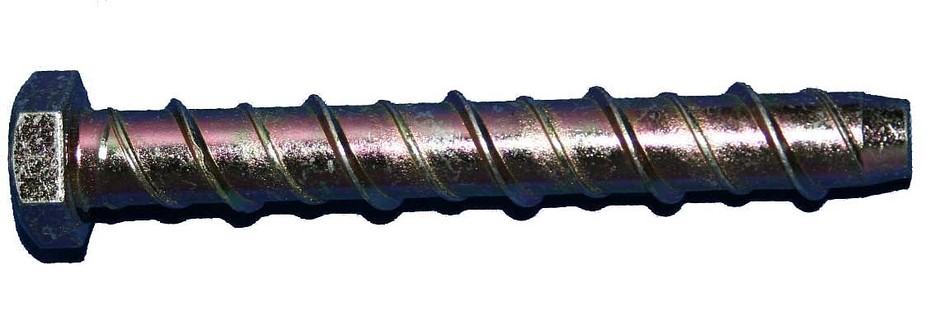
- 4 x Thunderbolts 10mm diameter x 60mm long*.
- 8 x Penny Washers 12mm internal hole diameter

- 10mm Masonry Bit
- 12mm Steel Bit
- Electrical tape
- Power drill with hammer action
- Pencil
- Tape Measure
- skirting board saw
- Spanner/ratchet set
Fitting Your Safe
- Select a suitable location within your property to fit your safe. Preferably within the main portion of the house.
- Check that there are no utilities, such a cables or pipes located where you are going to position the safe. You do not want to drill into utilities when fixing your safe.
- Cut and remove any skirting board or other fixings that would prevent the safe from fitting flush against the wall
- Position the safe flush against the solid wall to which it is to be fastened.
- Check the door of the safe opens and closes freely
- Mark where the top corners of the safe are on the wall in pencil
- Mark in pencil where the bolts are to be fitted on the wall using the pre-drilled holes in the safe.
- Move the safe out of the way to allow access to the wall
- Use some electrical tape to mark a stop drilling point on the masonry bit. This is normally the length of your bolts. (60mm*)
- Use the 10mm Masonry bit to drill the four marked holes in the wall. Use the “stop mark” on the drill bit to ensure you have drilled the holes to the correct depth.
- Use the 12mm steel bit to widen the holes in the safe to 12mm diameter.
- Replace the safe flush to the wall using the corner marks on the wall to assist correct placement
- Stick the pencil through the holes in the safe to the drilled holes in the wall to ensure that all holes are lined up. If one hole is slightly out of alignment, use the 12mm drill bit to elongate the hole in the safe so that it will line up.
- Insert a bolt with 2 washers fitted into each hole and tighten by hand as much as possible. The washers spread the load on the fixing hole and allow the bolt to tighten into the wall without binding on the cabinet.
- Use the Spanner/Ratchet set to tighten up all four bolts
- Check the door still opens and closes freely
The safe should now be fitted correctly to the wall.
*Check thickness of your solid wall and adjust thunderbolt length if necessary. Thunderbolt will have a 10mm body diameter but a 12mm thread diameter.